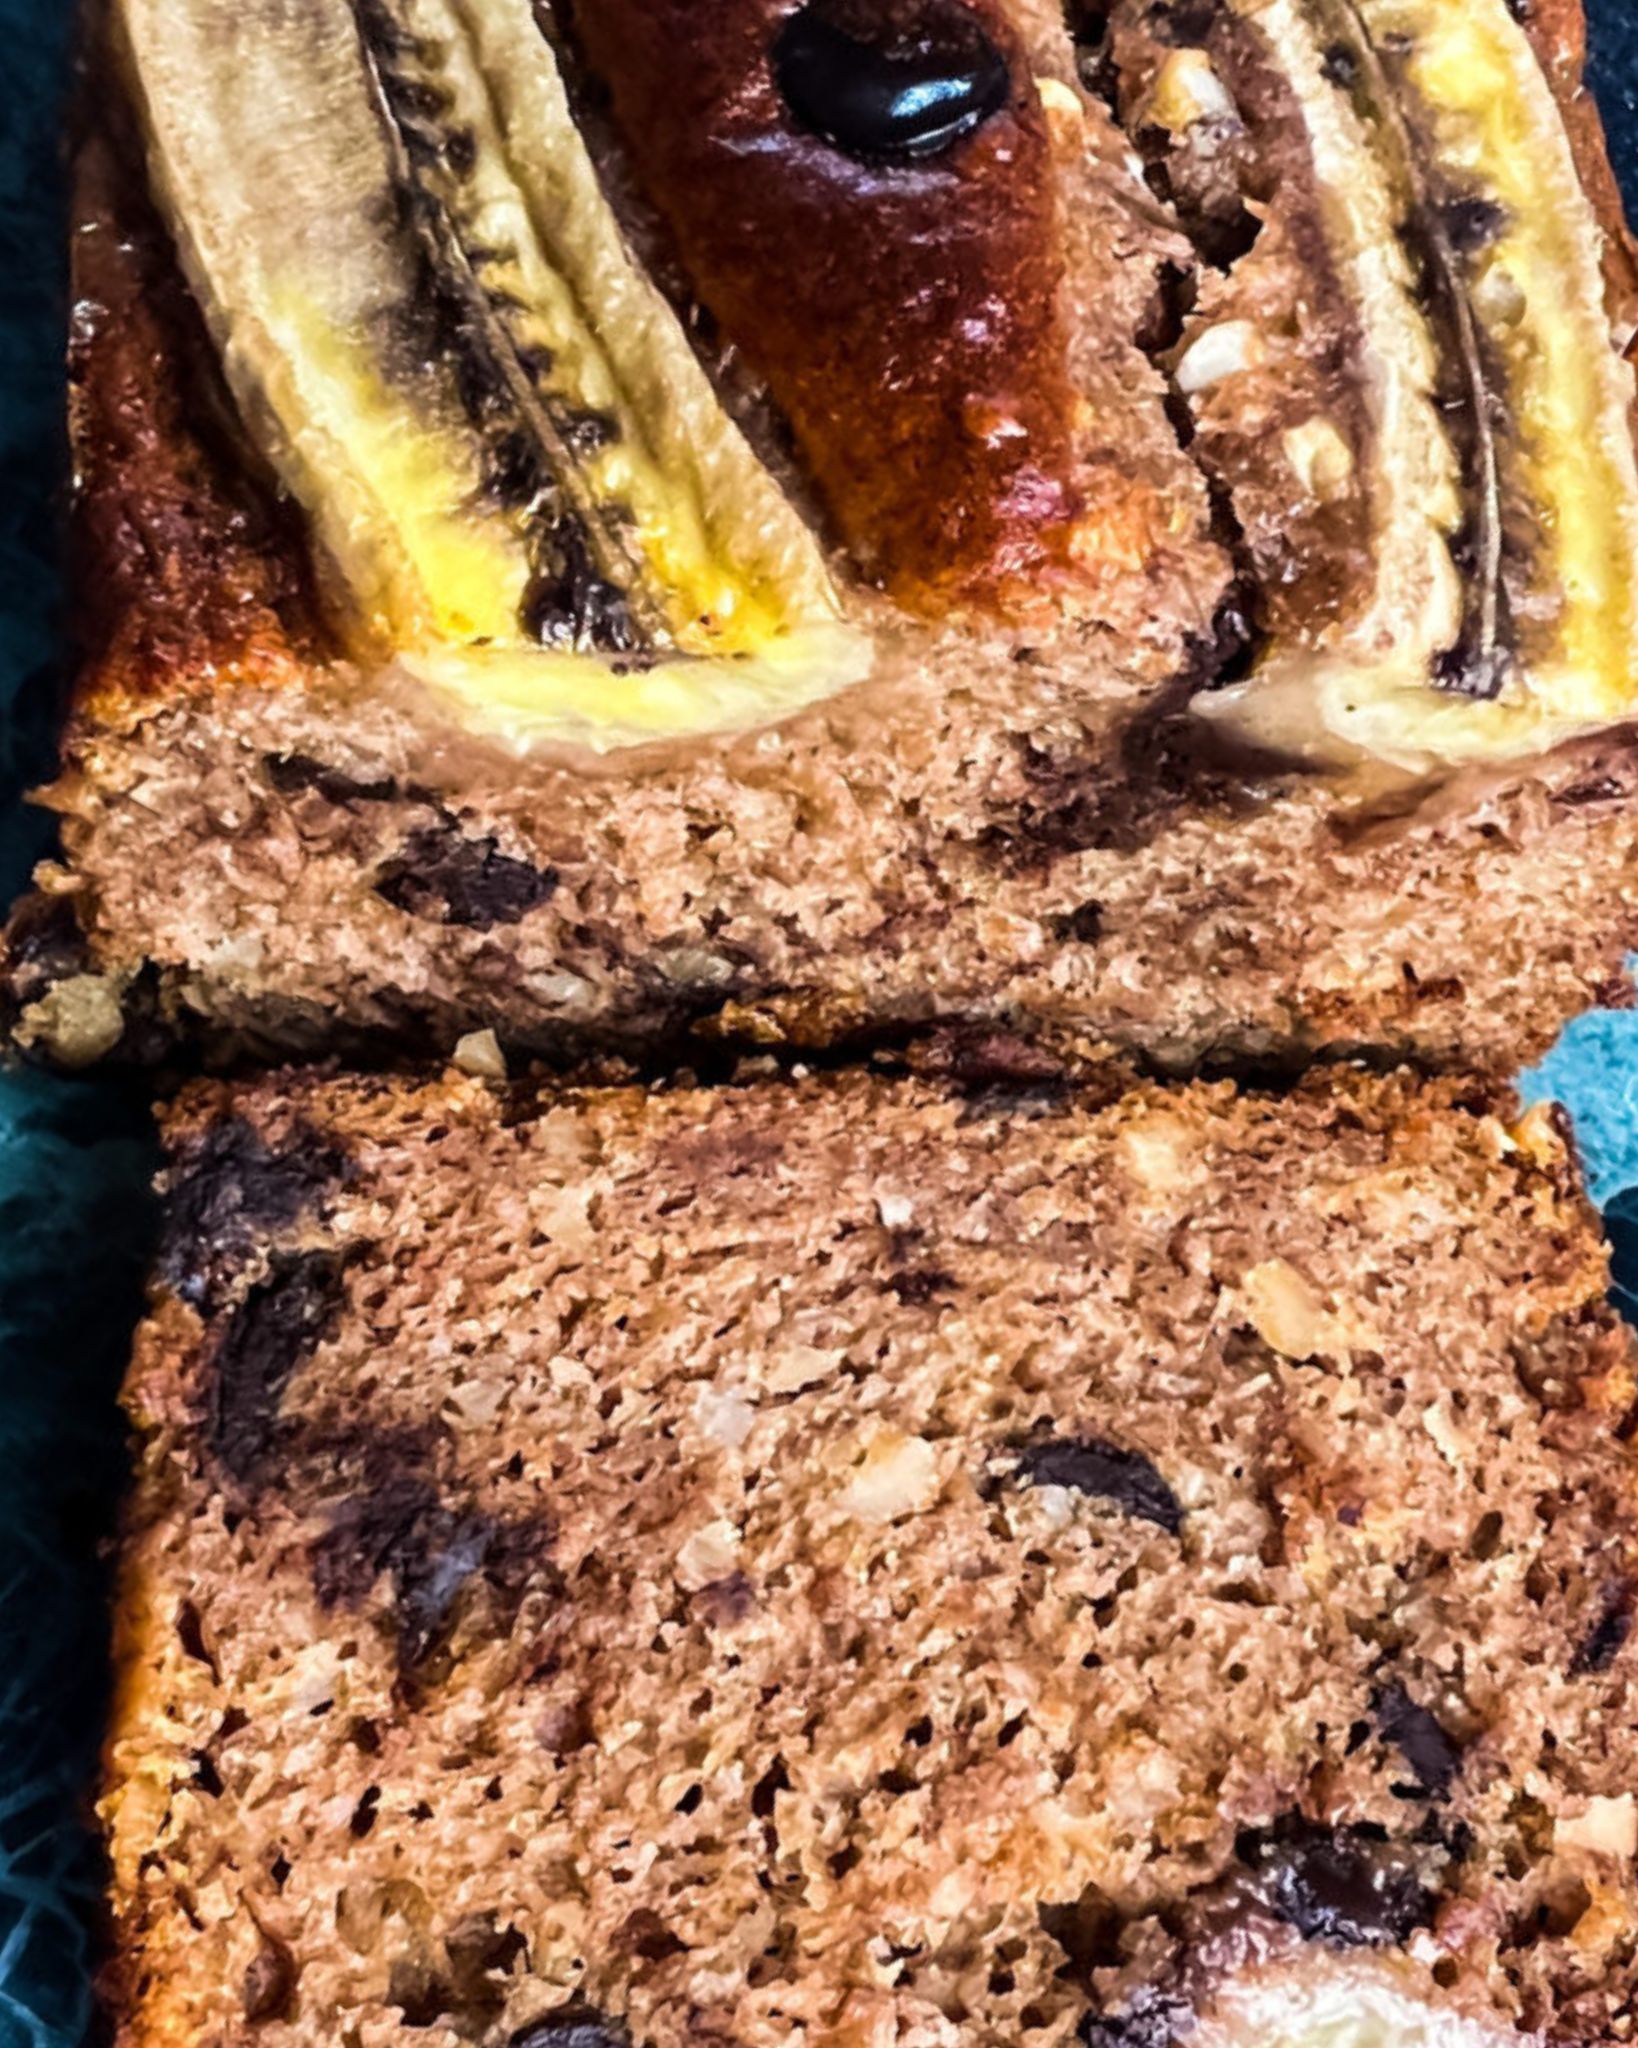
Banana Bread Without Eggs: A Fluffy and Moist Vegan Recipe
Banana bread is a beloved classic dessert that brings comfort and warmth to our homes. However, traditional recipes often include eggs, making them unsuitable for those following a vegan diet. Today, I want to share with you a fantastic recipe for banana bread without eggs that is fluffy, moist, and incredibly delicious. Whether you’re vegan, have an egg allergy, or just want to try a different take on banana bread, this recipe is sure to impress.
Here’s a step-by-step guide to making your very own vegan banana bread that will keep you coming back for more.
Ingredients
- To make the perfect vegan banana bread without eggs, you’ll need the following ingredients:
- 4 ripe bananas: The riper the bananas, the better the flavor.
- 200 grams of flour: Approximately 1 1/2 cups.
- 80 milliliters of sunflower oil: Approximately 1/3 cup.
- 110 grams of brown sugar: Approximately 1/2 cup.
- 1 pack of baking powder: This will help the bread rise.
- 8 grams of cinnamon: Approximately 1 1/2 teaspoons for a warm, spiced flavor.
- 2 teaspoons of vanilla sugar: Adds a hint of sweetness and vanilla flavor.
- 50 grams of chopped hazelnuts: Approximately 1/3 cup, for crunch and depth of flavor.
- 70 grams of chocolate drops: Approximately 1/3 cup, for a sweet surprise in each bite.
Step-by-Step Instructions
- Now that you have all your ingredients ready, let’s get baking
- Preheat the oven: Set the oven to 180°C (top and bottom heat) so it’s ready for your bread.
- Mash the bananas: Peel three bananas and mash them in a bowl with a fork until smooth.
- Mix in the wet ingredients: Add the sugar, vanilla sugar, and sunflower oil to the mashed bananas. Mix everything well.
- Combine the dry ingredients: In a separate bowl, mix the baking powder, flour, and cinnamon.
- Combine the wet and dry: Gradually add the dry ingredients to the wet mixture and stir until well combined.
- Add the nuts and chocolate: Stir in the chopped hazelnuts and 60 grams of chocolate drops.
- Prepare the loaf pan: Grease a loaf pan with oil or butter and dust it with flour.
- Pour the batter: Pour the banana bread batter into the prepared pan and smooth the top.
- Add the final touches: Peel the last banana and divide it lengthwise. Place the banana halves on top of the batter and gently press them in. Sprinkle the remaining chocolate drops over the dough.
- Bake the bread: Bake in the oven for about 40-50 minutes, or until a toothpick inserted into the center comes out clean.
- Let it cool: Once baked, let the bread cool in the tin before removing.
- Serve and enjoy: Serve the banana bread lukewarm or cold, and enjoy the fluffy, moist, and flavorful treat!
Baking Tips
- Use ripe bananas: Overripe bananas provide more sweetness and moisture to the bread.
- Mix gently: When combining the wet and dry ingredients, avoid overmixing to keep the bread light and fluffy.
- Check for doneness: Insert a toothpick into the center of the bread. If it comes out clean, the bread is ready.
Nutritional Values
Here’s a quick breakdown of the nutritional values for one serving of this vegan banana bread:
- Calories: 229 kcal
- Carbohydrates: 34 g
- Protein: 3 g
- Fat: 10 g
- Sugar: 16 g
- Vitamin A: 28 IU
- Vitamin C: 4 mg
- Calcium: 22 mg
- Iron: 1 mg
Serving Suggestions
Vegan banana bread is perfect on its own, but you can enhance the experience with a few serving ideas:
- Toast a slice and spread some vegan butter or jam on top.
- Pair with a warm beverage like coffee or tea for a cozy treat.
- Add a scoop of vegan ice cream for a delightful dessert.
Storage Tips
- Room temperature: Keep the bread in an airtight container at room temperature for up to 3 days.
- Refrigeration: Store in the fridge for up to 5 days to maintain freshness.
- Freezing: Slice the bread and freeze individual portions for up to 2 months. Thaw at room temperature before enjoying.

