Homemade Cheese with Coca-Cola
Ingredients
- Milk: 1.5 liters
- Coca-Cola: 0.5 liters
- Lemon: 1 (juice of)
- Salt: To taste
Step-by-Step Directions
- Heat the Milk:
- Pour 1.5 liters of milk into a large pot.
- Heat over medium heat until the milk begins to boil.
- Add Coca-Cola:
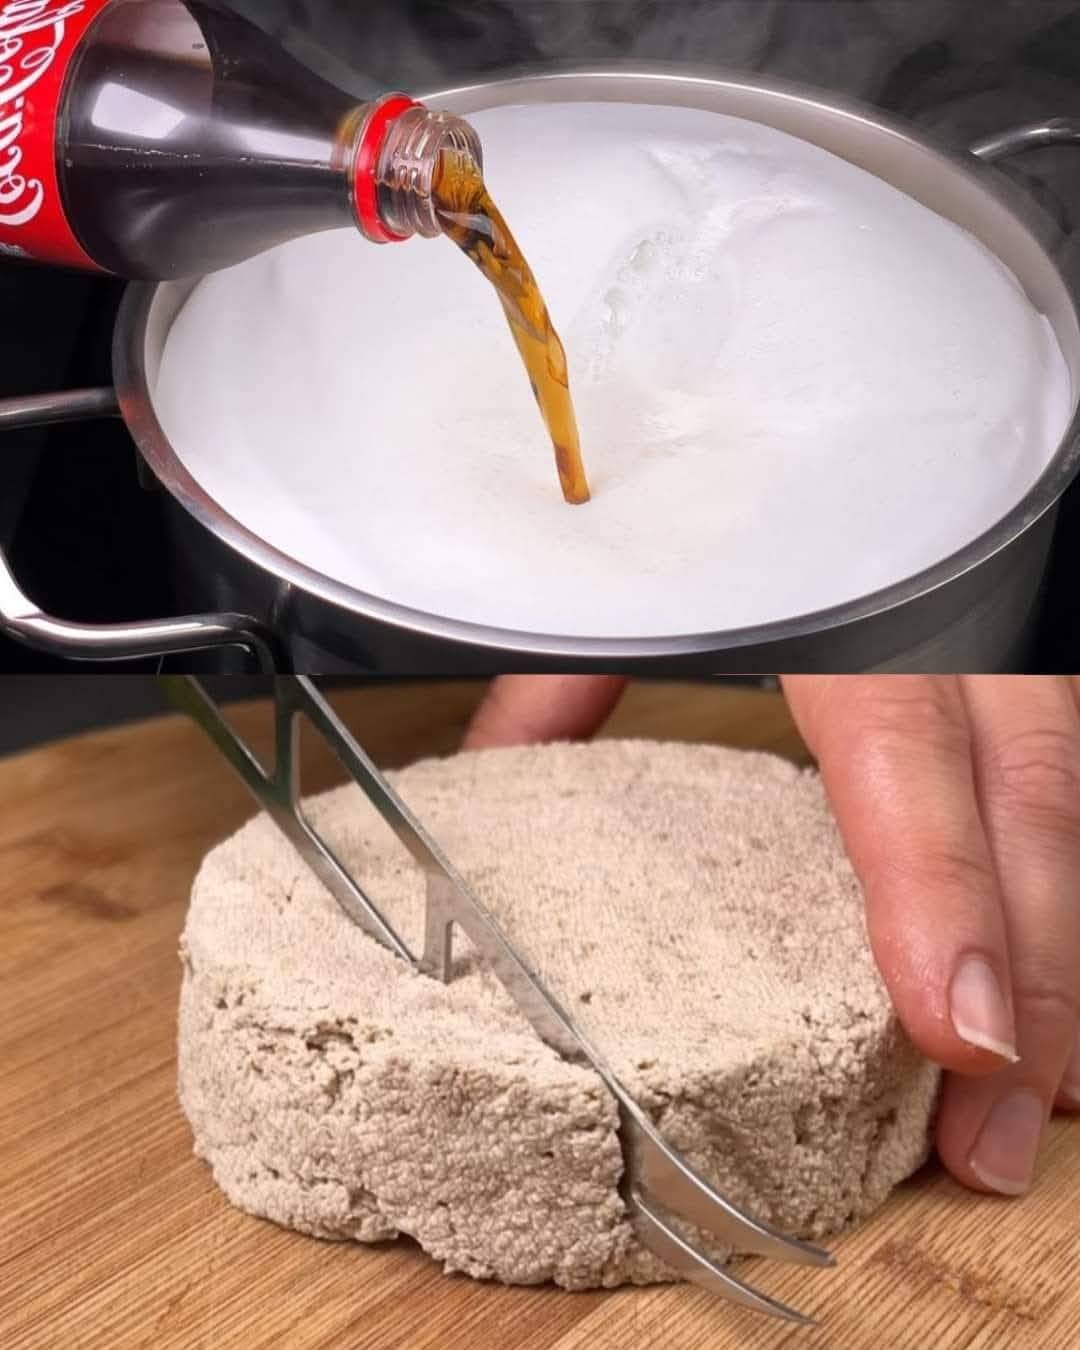
- Once the milk is boiling, carefully pour in 0.5 liters of Coca-Cola.
- The mixture will start to curdle almost immediately.
- Add Lemon Juice:
- Squeeze the juice of one lemon into the pot.
- Stir gently to help the curdling process.
- Strain the Curds:
- When the mixture has fully curdled, remove the pot from heat.
- Pour the curds and whey through a strainer lined with cheesecloth.
- Allow the whey to drain, leaving you with fresh cheese curds.
- Heat the Milk:
- Season:
- Sprinkle salt over the curds to taste.
- Gather the cheesecloth and squeeze out any remaining whey.
- Season:
- Your Homemade Cheese is Ready!
- Transfer the cheese to a container or mold and refrigerate.
- Enjoy your homemade cheese as a unique addition to your dishes!
- Your Homemade Cheese is Ready!
Cooking Tips
- Milk Quality: Use fresh milk for the best results. Avoid ultra-pasteurized milk as it may not curdle properly.
- Coca-Cola: Ensure the Coca-Cola is at room temperature before adding it to the milk.
- Cheese Texture: The texture of the cheese can vary depending on how much whey you remove. For a firmer cheese, squeeze out more whey.
Nutritional Benefits
- Milk: Provides calcium, protein, and essential vitamins.
- Coca-Cola: Adds a unique flavor and acidity that helps with curdling.
- Lemon: Contributes vitamin C and enhances the curdling process.
Dietary Information
- Vegetarian: Yes
- Gluten-Free: Yes
- Dairy-Free: No
Storage Tips
- Refrigeration: Store the cheese in an airtight container in the refrigerator for up to one week.
- Freezing: Cheese can be frozen, but it may alter the texture. To freeze, wrap the cheese tightly in plastic wrap and place it in a freezer bag.

