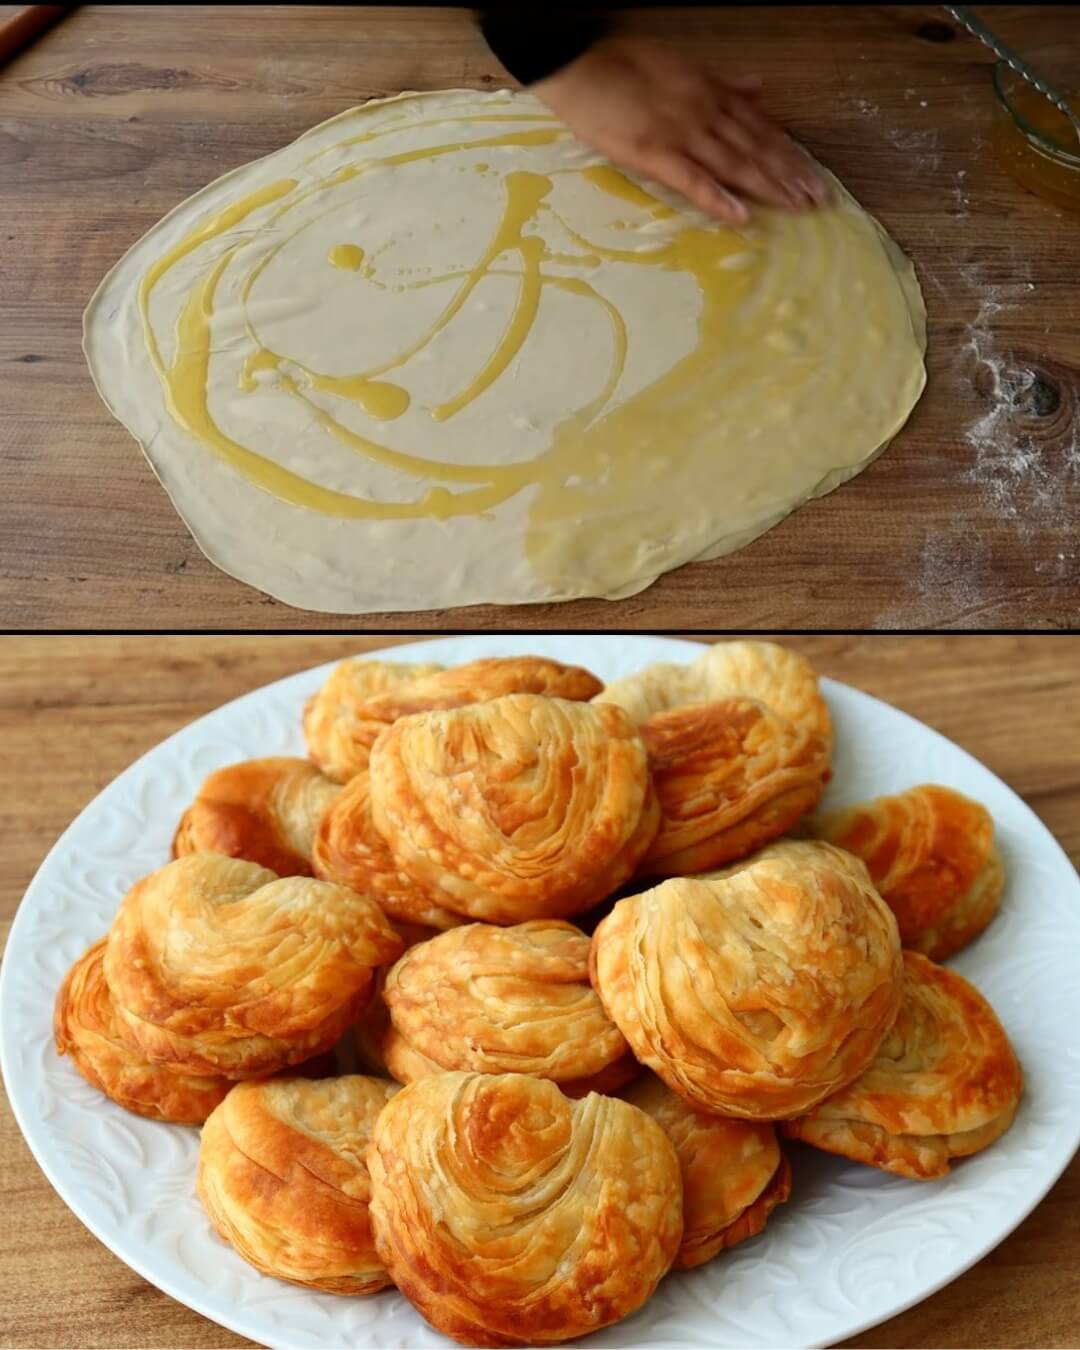
Katmer: The Quick and Delicious Snack
Ingredients:
For the Dough:
2.5 cups all-purpose wheat flour (280 g)
1 glass of warm water (200 ml)
1 teaspoon salt (5 g)
For Assembling:
100 g butter (melted)
Optional: Cheese (for filling)
Additional salt (1 teaspoon for the optional cheese filling)
Instructions:
Prepare the Dough:
Mix Ingredients: In a large mixing bowl, combine the 2.5 cups of all-purpose wheat flour, 1 glass of warm water, and 1 teaspoon of salt. Mix well until a soft dough forms that slightly sticks to your hands. This mixture creates the foundation for your delicious Katmer.
Knead the Dough: Sprinkle some flour on your working surface and knead the dough for about 5 minutes until it becomes smooth and elastic. Proper kneading is essential for developing the gluten, which gives the Katmer its structure.
Rest the Dough:
Cover the dough with a clean kitchen towel and let it rest for 10 minutes. This resting period allows the gluten to relax, making it easier to roll out later.
Divide the Dough: After resting, divide the dough into 4 equal parts. Cover and let them rest for an additional 5 minutes. This ensures that the dough stays moist and pliable.
Roll and Assemble the Dough:
Roll the Dough: On a floured surface, take one piece of dough and roll it out as thinly as possible using a rolling pin. Aim for a thin sheet, which will create those lovely layers.
Spread Butter: Spread a portion of the melted butter over the rolled-out dough. This will add flavor and richness to the Katmer.
Layer and Butter: Repeat the process with the remaining dough pieces, layering each one on top of the other and spreading butter between each layer. This layering technique is what gives Katmer its flaky texture.
Stretch the Dough: Carefully pull and stretch the layered dough to make it even thinner. Be gentle to avoid tearing the dough, as this will affect the final texture.
Rest in the Fridge: Cover the stretched dough and place it in the fridge to cool for 3 hours. Chilling the dough helps maintain its structure while baking. You can also prepare this dough the night before and store it in the refrigerator.
Shape and Cook the Katmer:
Slice the Dough: After chilling, slice the dough into pieces that are about 2 fingers thick. This gives you manageable sections to work with.
Roll and Shape: Sprinkle flour on the surface and roll each slice to about 1 cm thickness. Use the handle of the two breakfast knives to shape the dough pieces as desired.
Add Cheese (Optional): If you want to add cheese, place a small amount between the layers before shaping. Mixing the cheese with a pinch of salt enhances its flavor.
Prepare for Baking: Preheat your oven to 190°C (374°F). This ensures the Katmer bakes evenly and gets that lovely golden color.
Bake: Place the shaped Katmer pieces on a baking tray and brush them with a little vegetable oil. Bake in the preheated oven for 20-25 minutes or until golden brown and crispy.
Serving:
Serve the hot and crispy Katmer as a delightful snack or breakfast treat. They are perfect on their own or with a side of yogurt or honey for dipping. The combination of flavors and textures is sure to impress!
Additional Tips:
Optional Cheese Filling: If using cheese, mix it with a pinch of salt before adding it between the layers. Feta or mozzarella works well for a creamy filling.
Storage: Store any leftovers in an airtight container in the refrigerator. Reheat in the oven or on a skillet before serving to restore their crispines

