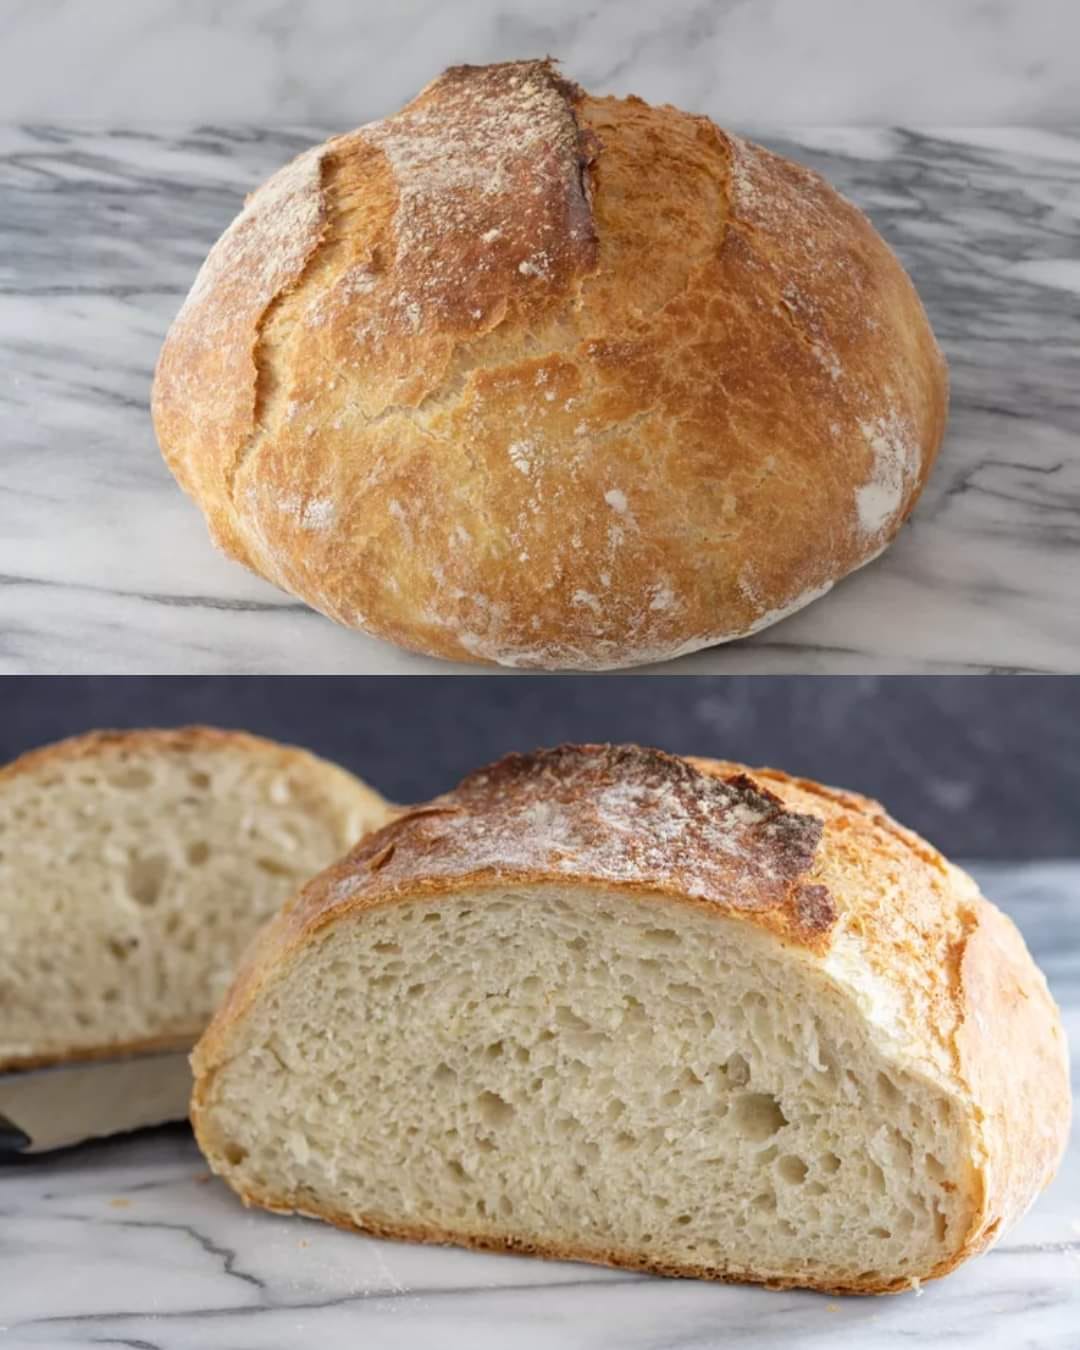
Instant Pot No-Knead Bread
Ingredients:
- 3 1/4 cups (390 grams) all-purpose flour, more as needed
- 1 1/4 teaspoons instant or active dry yeast
- 1 1/4 teaspoons salt
- 1 to 2 teaspoons granulated sugar (optional)
- 1 1/2 cups lukewarm water (about 100°F)
- 2 tablespoons olive oil, plus more for the pot
Directions:
- Mix the dough:
- In a large mixing bowl, combine the flour, yeast, salt, and sugar (if using).
- Add the lukewarm water and 2 tablespoons of olive oil to the dry ingredients. Mix thoroughly until the dough comes together into a shaggy, sticky mass.
- Proof the dough in the Instant Pot:
- Oil the inner pot of the Instant Pot with a few teaspoons of olive oil.
- Set the Instant Pot to the yogurt setting and make sure it is on the lowest temperature setting (“less”), which is about 88°F.
- Place the dough in the pot, cover it with a towel, and place the glass lid or a plate over the top.
- Set the timer for 3 1/2 hours.
- Shape the dough:
- When the time is up, scrape the dough out onto a floured surface and sprinkle a little more flour on top.
- Use a bench scraper or floured hands to gently shape the dough into a relatively smooth ball. Handle it as little as possible to avoid deflating the dough.
- Second rise:
- Wipe out the inner pot of the Instant Pot.
- Place the dough ball on a floured sheet of parchment paper.
- Use the ends of the parchment paper to lift the dough into the Instant Pot.
- Set the Instant Pot to the yogurt setting again, set the timer for 30 minutes, and cover with the cloth and lid or plate.
- Mix the dough:
- Preheat the oven and Dutch oven:
- About 15 minutes before the dough is finished rising, place a covered 4-quart (or larger) Dutch oven or casserole dish in the oven.
- Preheat the oven to 450°F (230°C).
Note: If the Dutch oven has a non-metal knob, remove it or replace it with a metal knob.
- Bake the bread:
- Carefully take the Dutch oven out of the oven and place it on a rack.
- Remove the cover and use the ends of the parchment paper to lift the dough into the hot Dutch oven.
- Cover the Dutch oven and return it to the oven.
- Bake, covered, for 30 minutes. Remove the lid and bake for an additional 12 to 15 minutes, or until the bread is golden brown.
- Preheat the oven and Dutch oven:
- Cool the bread:
- Let the bread cool in the Dutch oven for about 10 minutes before transferring it to a wire rack.
- Cool completely before slicing.
- Cool the bread:
Serving Suggestions:
- Serve as a side with soup or stew for a hearty meal.
- Enjoy as toast with your favorite spread for breakfast.
- Make sandwiches using this bread for a homemade twist.
- Serve with a charcuterie board featuring cheeses, olives, and meats.
- Dip in olive oil and balsamic vinegar for an appetizer.
Cooking Tips:
- Use lukewarm water: The water should be about 100°F to activate the yeast without killing it.
- Don’t overwork the dough: This is a no-knead recipe; the less you handle the dough, the better the texture.
- Preheat the Dutch oven well: This helps create steam, resulting in a crisp, crusty exterior.
- Handle dough gently: When shaping, try not to deflate the dough too much to keep it airy.
- Cooling is key: Letting the bread cool completely before slicing ensures that it sets properly and has the best texture.
Nutritional Benefits:
- Simple ingredients without preservatives, unlike most store-bought bread.
- Rich in carbohydrates to provide energy.
- Contains healthy fats from olive oil.
- Versatile base for nutrients depending on toppings (e.g., avocado, peanut butter, cheese).
- Lower sodium option compared to store-bought bread.
Dietary Information:
- Vegetarian-friendly as it contains no meat products.
- Vegan-friendly as there are no animal products used.
- Can be made gluten-free by using gluten-free flour.
- No preservatives or additives, making it a healthier homemade option.
- Nut-free, making it suitable for those with nut allergies.
Nutritional Facts (per slice, approximately 12 slices):
- Calories: 130
- Protein: 3g
- Carbohydrates: 22g
- Fat: 3g
- Fiber: 1g
- Sugar: 0g
Storage:
- Room temperature: Store bread in a breadbox or plastic bag at room temperature for up to 2-3 days.
- Freeze: Slice the bread and wrap it well in plastic wrap. Store in the freezer for up to 3 months.
- Reheat: Reheat frozen slices in a toaster or oven to bring back some of the crispness.

